In order to flash Ubuntu Core on a Rapsberry Pi 3 B+, We will follow the instructions on the official Ubuntu page.
Setup an Ubuntu SSO account
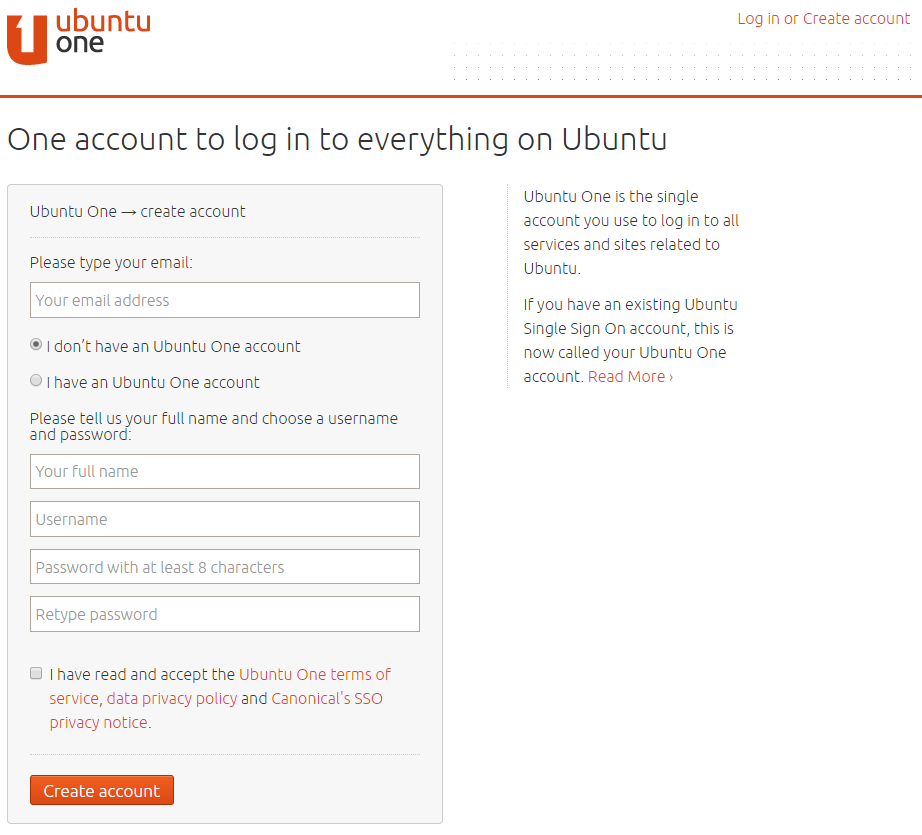
Firt of all, we create a new a Ubuntu SSO account.
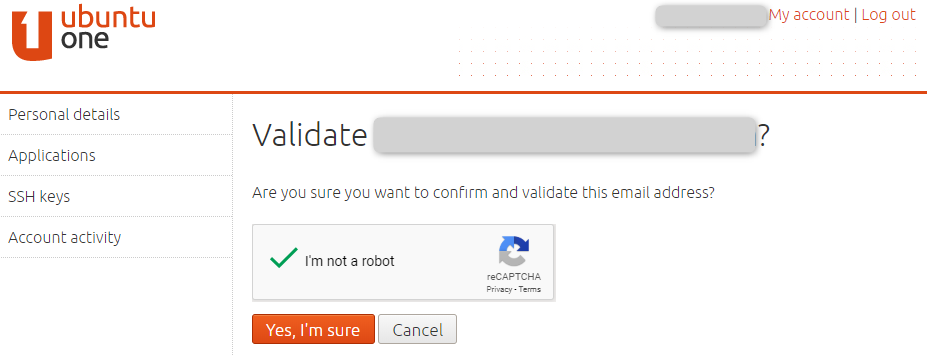
You will receive an email with a link that must be confirmed:
Hello

Welcome to your new Ubuntu One account.

You can log in right away and start using your new account.

Please take a moment to confirm your email address with us.

To confirm your email address, please click on the link below:

https://login.ubuntu.com/invalidate-email/<token>/<your-email>

Thank you,
The Ubuntu One team
https://login.ubuntu.com


If you don't know what this is about, then someone has probably entered your email address by mistake. Sorry about that.
Use the following link only if you wish to report this email being incorrectly used:

https://login.ubuntu.com/invalidate-email/<token>/<your-email>

You can also seek further assistance on:

https://help.ubuntu.com/community/SSO/FAQs
After clicking on link, you will have this window
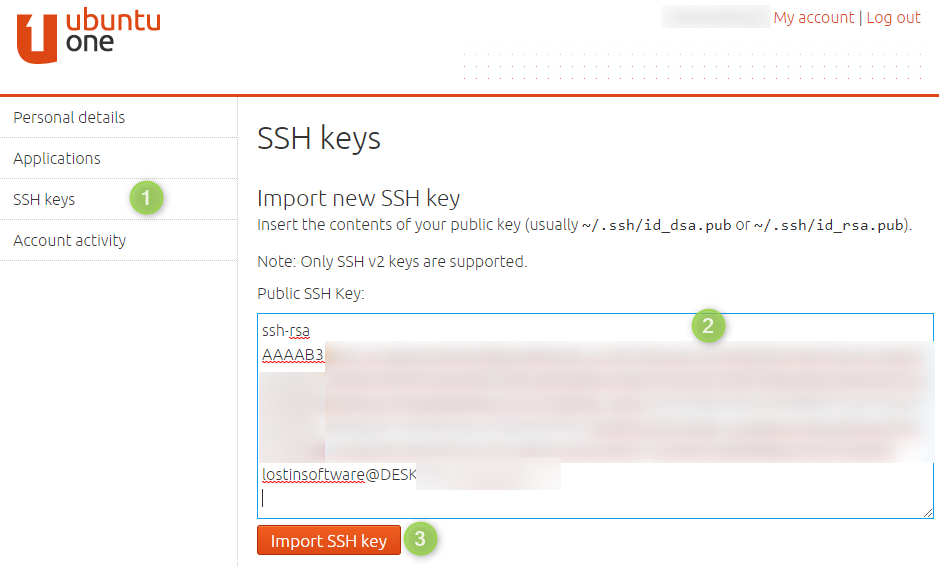
Next we generate a public/private rsa key pair using ssh-keygen tool.

Then we copy the string of id_rsa.pub file on the following Ubuntu page

Download Ubuntu Core
We get the image ubuntu-core-18-armhf+raspi3.img.xz from here
Verify the integrity of the file with PowerShell executing
Get-FileHash -Path .\\ubuntu-core-18-armhf+raspi3.img.xz -Algorithm SHA256   </br>

Algorithm  Hash                                                                                                                                 Path
SHA256     861DBBC2D230F62D3CFCD84C57F3A317155F3706F059611AF36077958BE47186    D:\\Downloads\\UbuntuCore\\ubunt...
Flash the microSD card
Copy the Ubuntu Core image on the microSD card by following the installation media instructions.
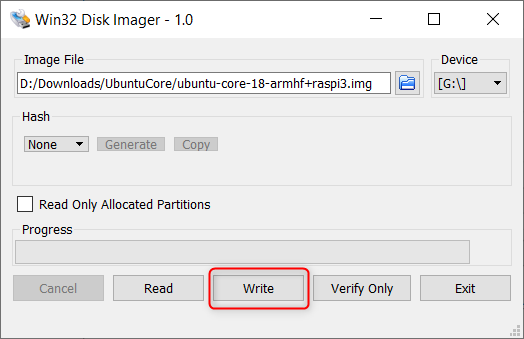
Firstly we extract the ubuntu-core-18-armhf+raspi3.img file from ubuntu-core-18-armhf+raspi3.img.xz using 7-zip extractor.
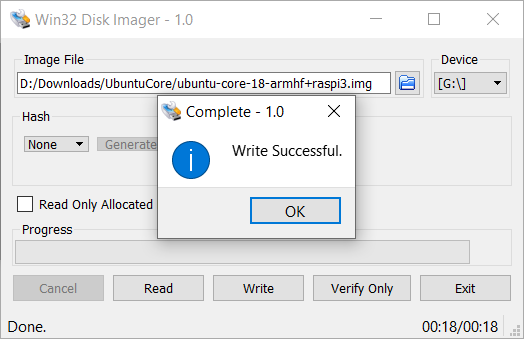
Next we flash Ubuntu Core image on SD card using Win32 Disk Imager.
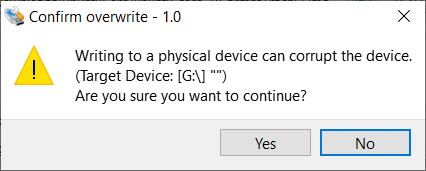
Click on Yes
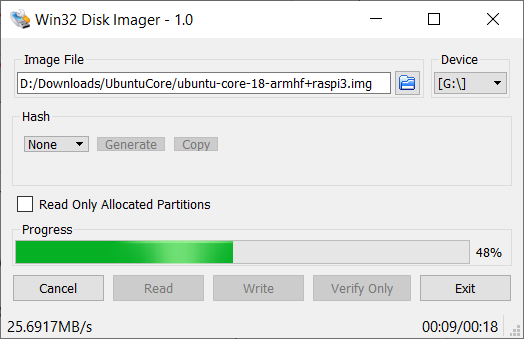
Ignore message

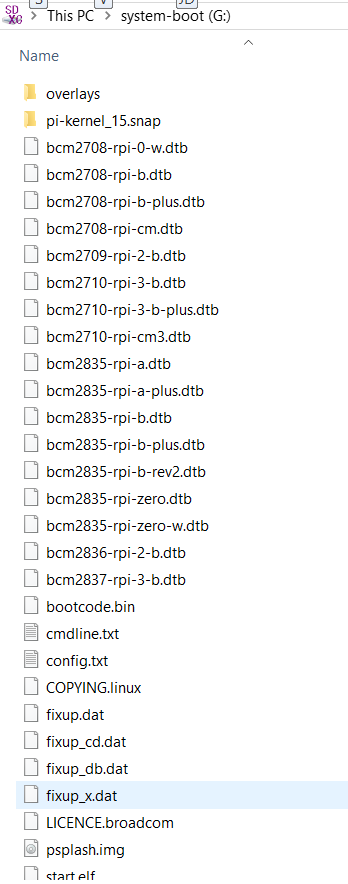
Content of SD card now is
First boot setup
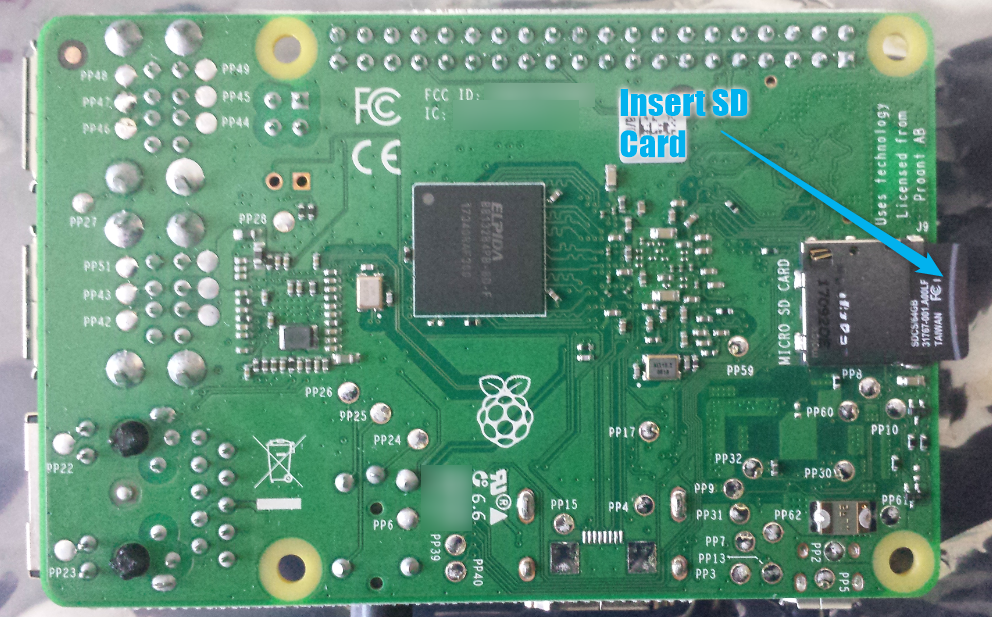
Next we insert the SD card in Rapsberry Pi
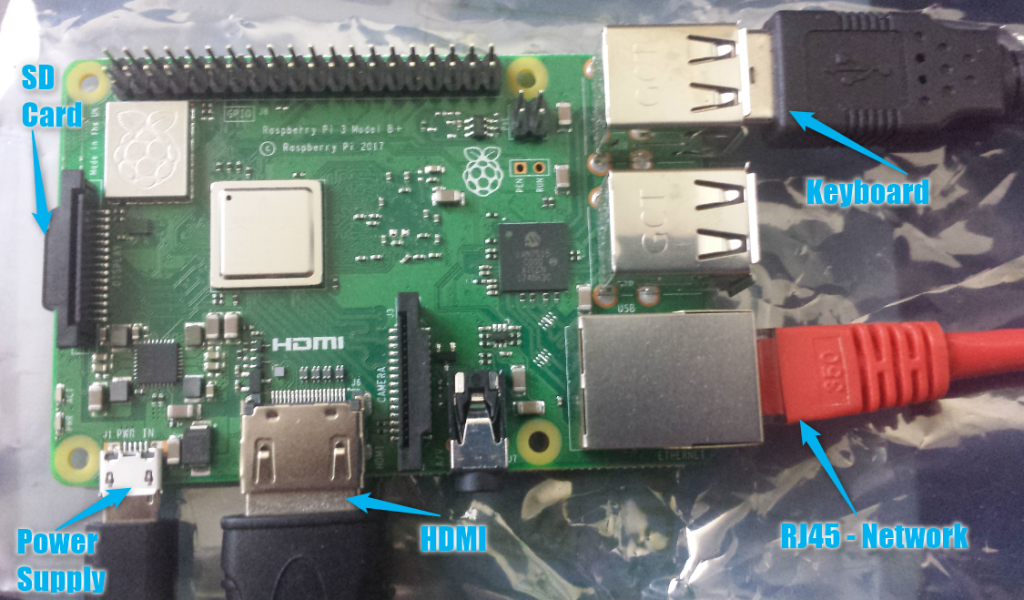
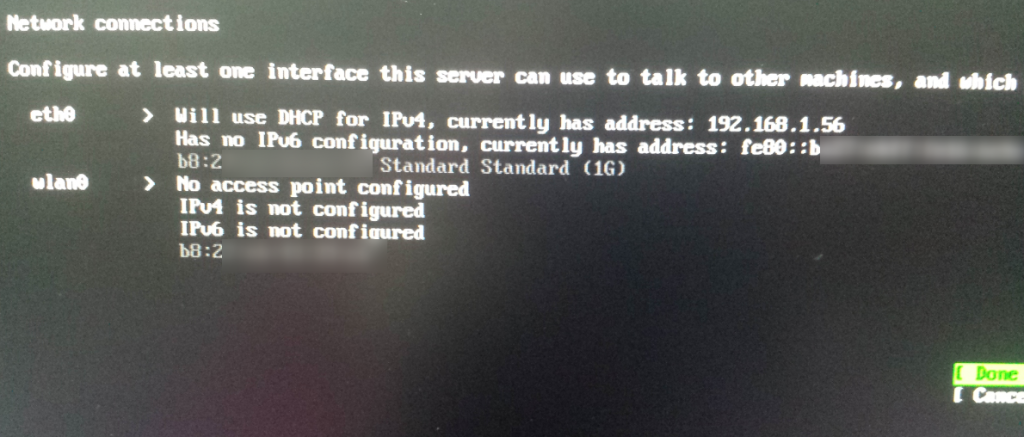
Then we connect a keyboard, network, HDMI and power supply before starting up.
After a few seconds of a black display, the following logo will show up:

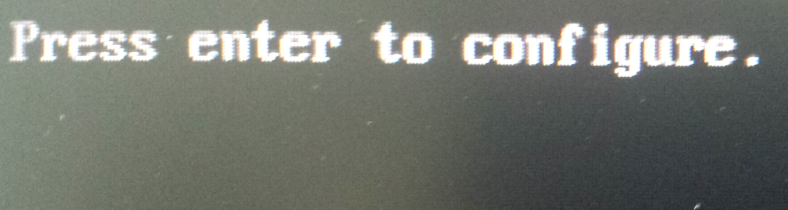
Next we will see this message in, more or less, one minute:
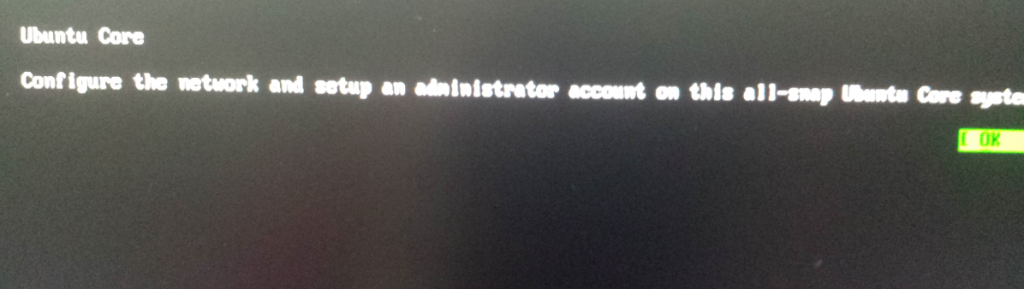
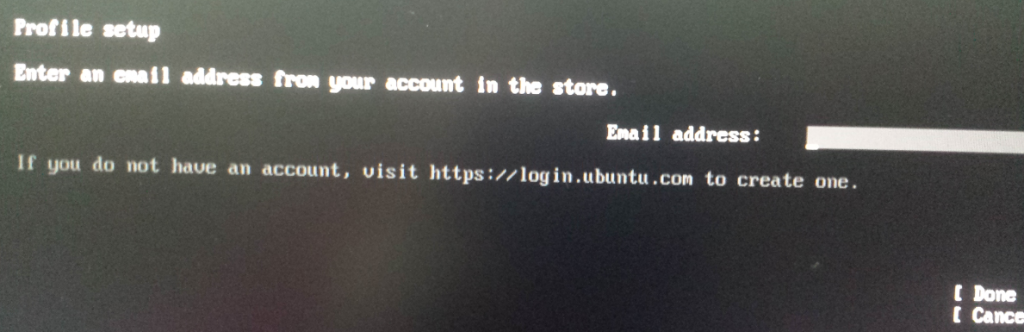
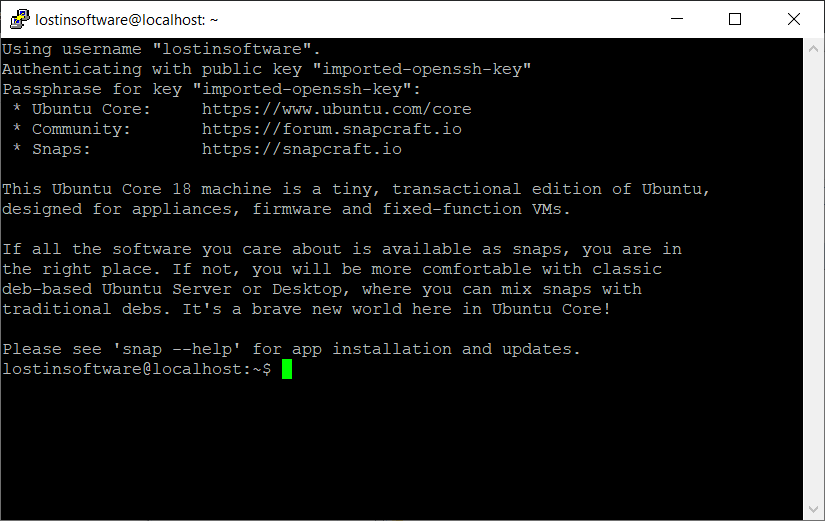
Finally, the configuration is complete.

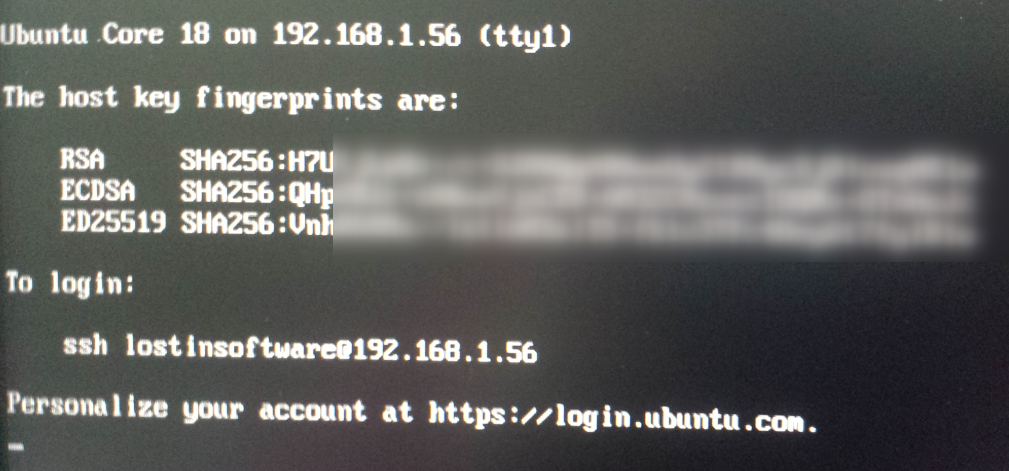
Login
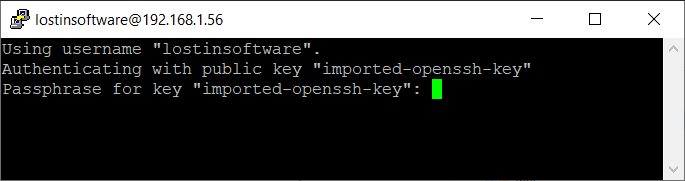
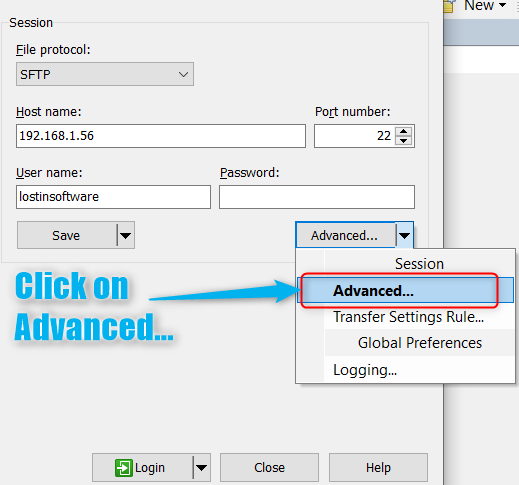
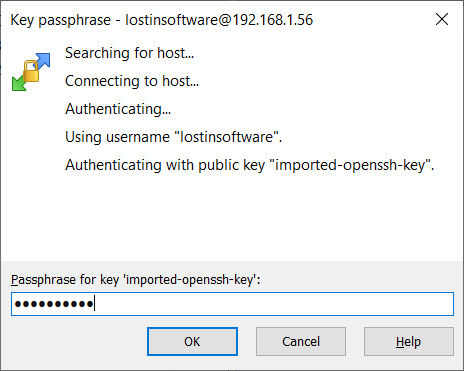
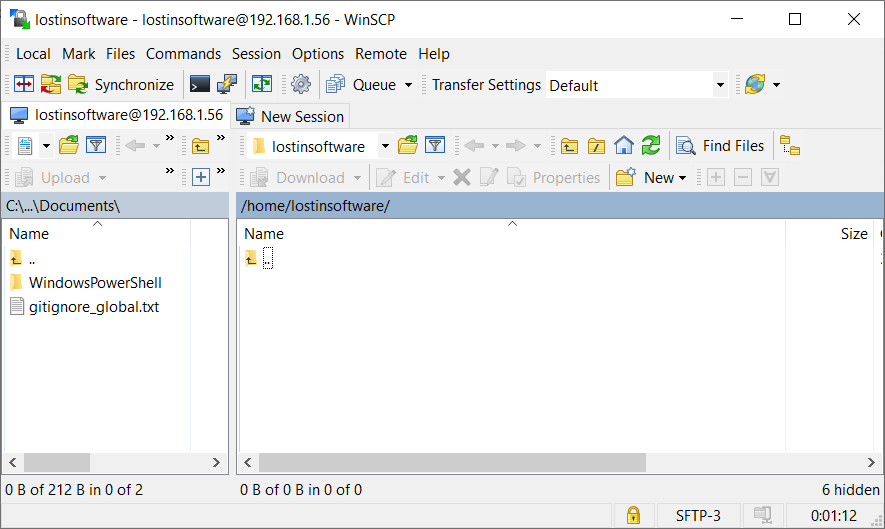
Once setup is done, we can login with SSH into Ubuntu Core, from a machine on the same network, using, for example, WinSCP.
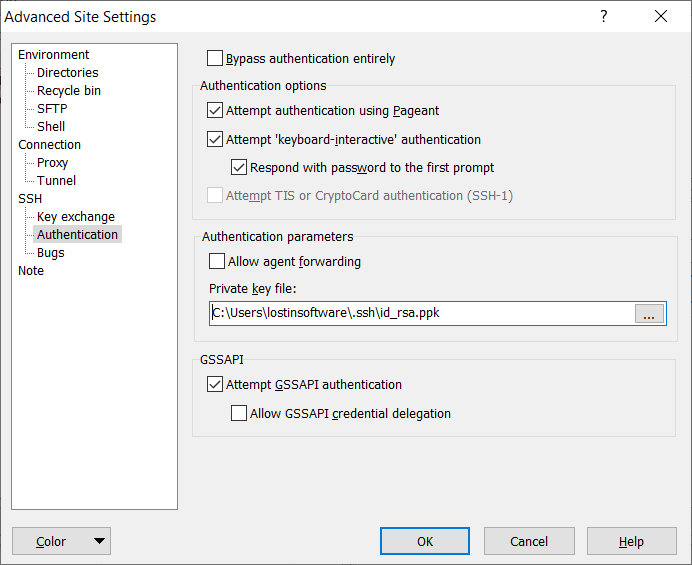
We need to setup the connection advanced properties the first time.
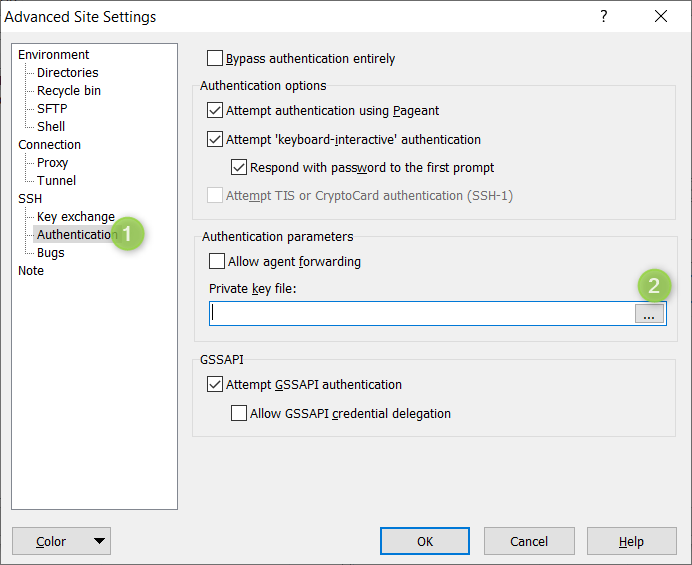
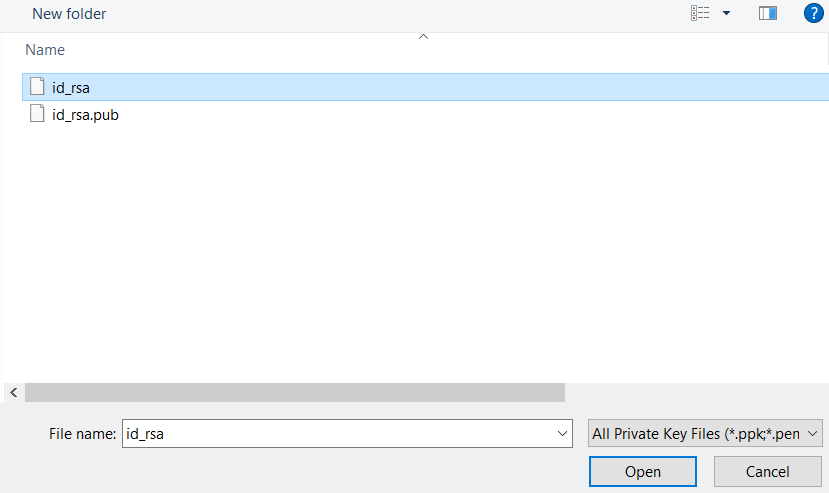
Select our private RSA file
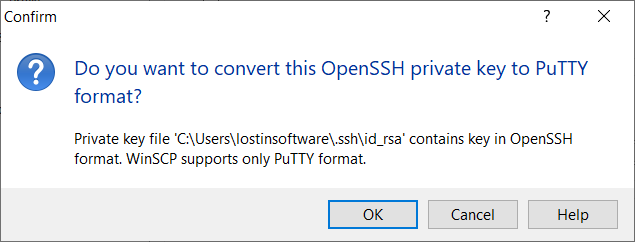
After selecting the private RSA, the system ask us if we want to convert it to PuTTY format. We answer yes.
And we set the key passphrase we used before.

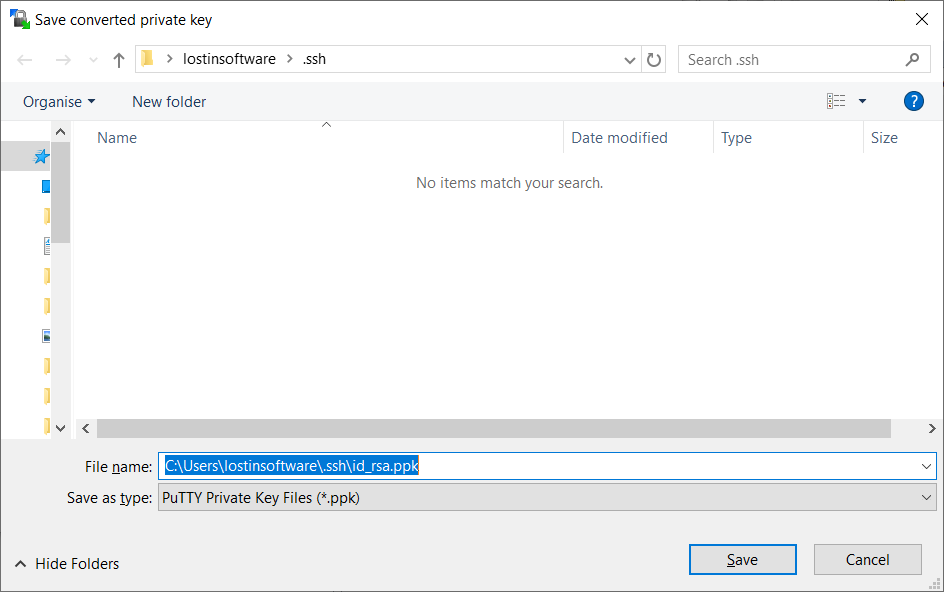
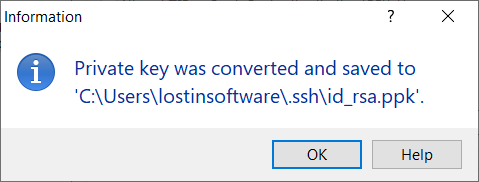
And the we save the converted private key
Next we connect to Raspberry PI
We can also connect using PuTTY terminal