In this post, we'll describe how to deploy an application to Google App Engine.
The first step in deploying an application require that you create a Google developer account. To start th process of registering an application ID, follow this link: https://appengine.google.com For that, you will need to have previuosly a Google Account or have a Google Apps account. In the latter option, you will have to use the link https://appengine.google.com/a/<YOURDOMAIN.COM>/, where YOURDOMAIN.COM is replaced with your actual Google Apps domain name.
Once signed in, you will have to click on Create ann Application, as shown in the next screenshot.

This will lead to a page where you can create an application ID and a corresponding application title. You can have as many as 25 active application IDs associated with a given developer account.

Choose an ID for your sample app that no one else has already used. After we have registered an application ID, the next step is to associate that app ID and an application number with our application in Eclipse. An easy way to do this is to click on the Deploy to App Engine on Eclipse's top toolbar, as is shown in the next screenshot.

Deploying to Google App Engine requires authentiation with a Google Account. Then you will have to accept the different operations that Google Plugin for Eclipse will do with our Google Account.
After accepting, a dialog like the one in the next screenshot will be shown.

Clicking on the App Engine project settings link, we will set the application id and the version, as in the next screenshot is shown.

After clicking on OK and returnig to the Deploy Project dialog, you will see a message indicating that we are ready to deploy.

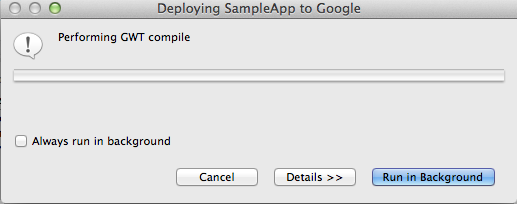
Then, click on Deploy button and the process of deployment wil start. During this process, the GWT code will be compiled to JavaScript, a war will be uploaded and deployed.
After a few seconds, in your browser will be shown a page with your application. The url will be:
http://<version>-dot-<my-application-id>.appspot.com/
You can also try the url
http://<my-application-id>.appspot.com/
The parameters of application id and the version can also be changed directly in the war/WEB-INF/appengine-web.xml instead of using the project Properties dialog. These changes will be reflected in the Propeties dialog settings. The tags that you will have to modify are application and version.